 |
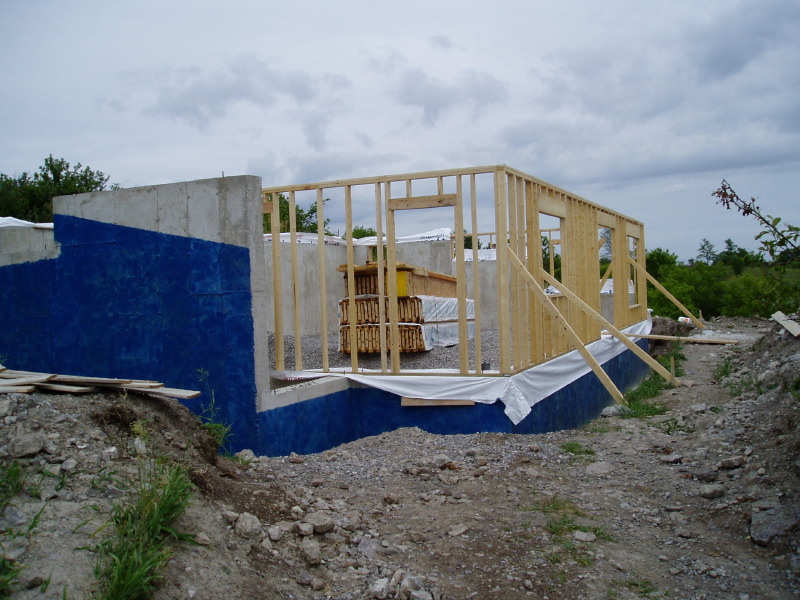
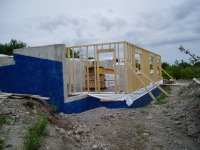
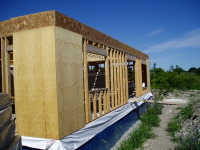
After the forms were removed from the concrete, we were able to start the framing
for the first level. Due to not having a level place to work and to enable me
to compensate for any uneveness of the concrete, the framing was done in place,
cutting each stud to a level line ( I used a laser level for this) and then
toenailing them in place. After the studs were toenailed the top plate was installed.
After the building is closed in, I will start on the interior wall of the double
stud wall. The white in the pictures is Tyvek that was placed under the sill
plates to create a better seal. The sill plates are also sealed with sill gasket. |
 |
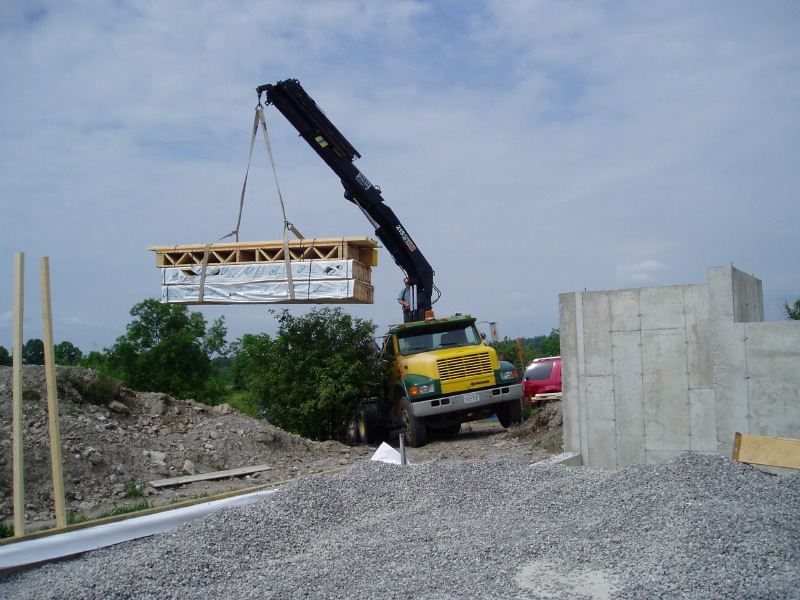
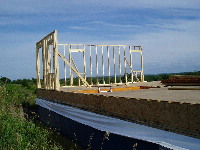
While the framing for the front wall was in progress, we took delivery of the
floor trusses. We opted for the open truss floor because it would create a stiffer
floor and would allow us to route plumbing and ventilation ducts without having
to build bulkheads in the ceiling. |
 |
Once the front was framed, we had to wait until we had finished the top of
the cold cellar before we could proceed to installing the floor trusses. (see
Concrete ) |
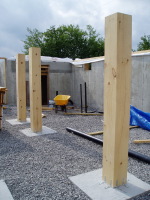 |
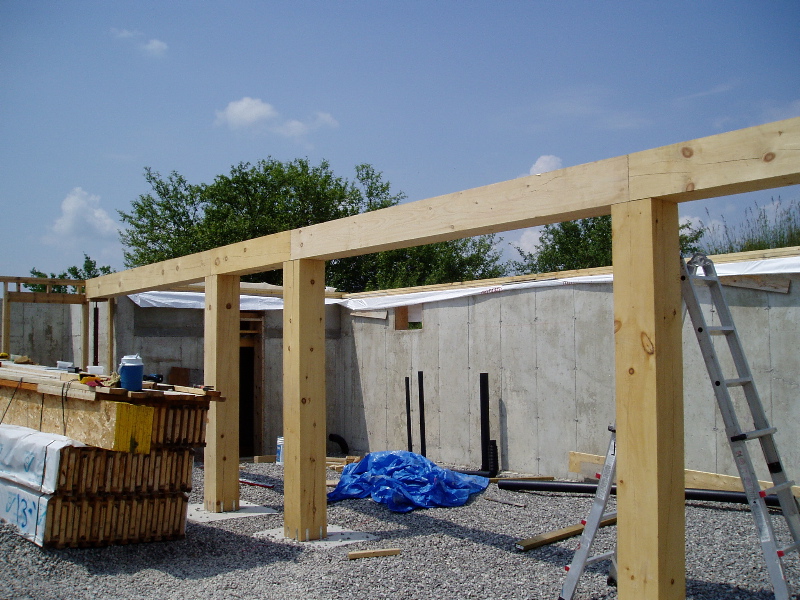
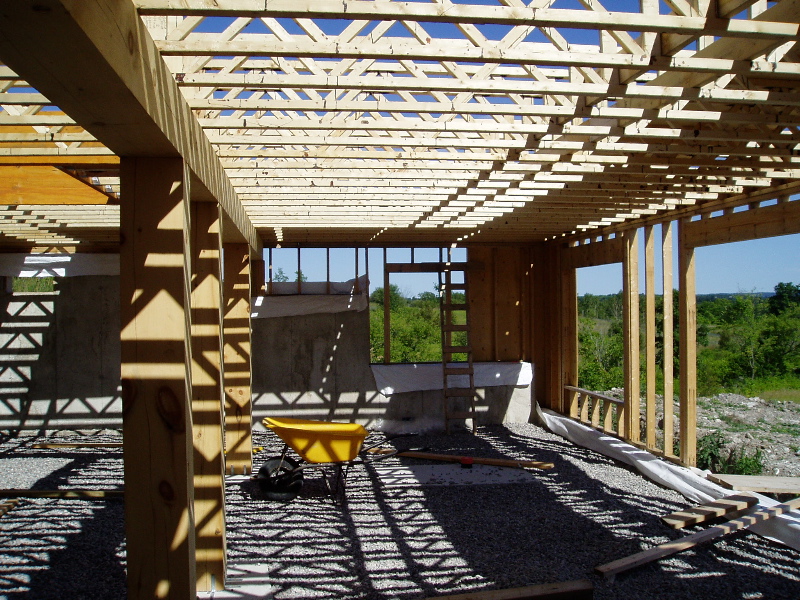
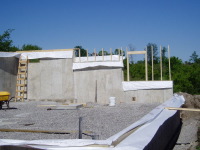
Since the floor trusses had to be supported by something, rather than using
a built up beam and then having to find some way to hide it, we decided to make
the beam a focal point in the design by using 10x10 pine timbers that we sourced
from a sustainable forestry sawmill. Here you can see the columns in place ready
for the beams. |
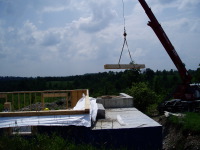 |
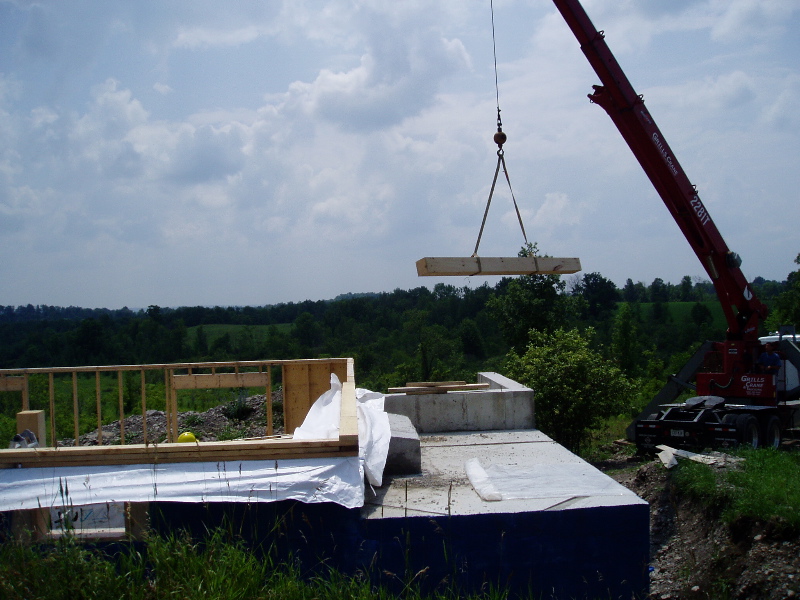
Due to the weight of the beams (the largest was a 12' 10x10 and weighed a few
hundred pounds) we hired a crane for the placement of the beams. |
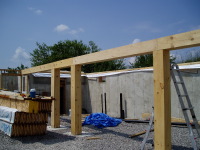 |
After much worrying and work getting the beams cut to the right length and
square at the ends, I was quite pleased with the end result. |
 |
After the beams were installed we could proceed the the installation of the
floor trusses |
 |
and finish wth the rim boards. |
 |
The floor trusses are finished and are waiting for the subfloor |
 |
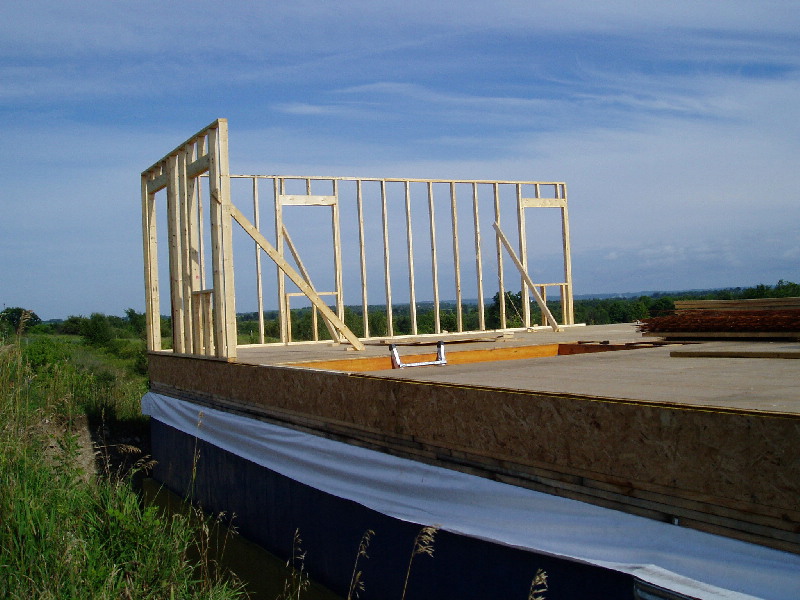
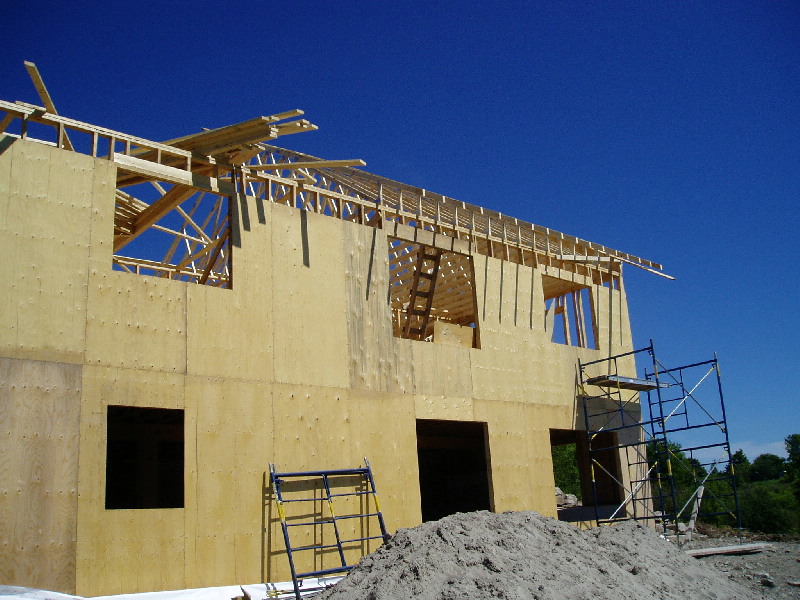
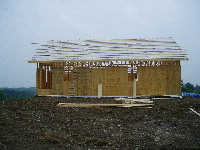
After putting down the subfloor, we started with the framing for the second
floor. Due to the size of the walls and the lack of major muscle power, we put
up the framing in 12' sections |
 |
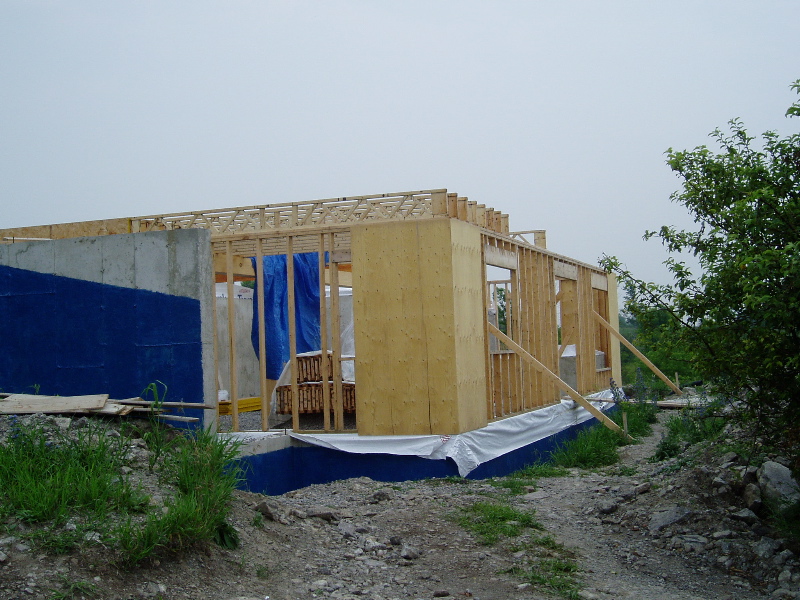
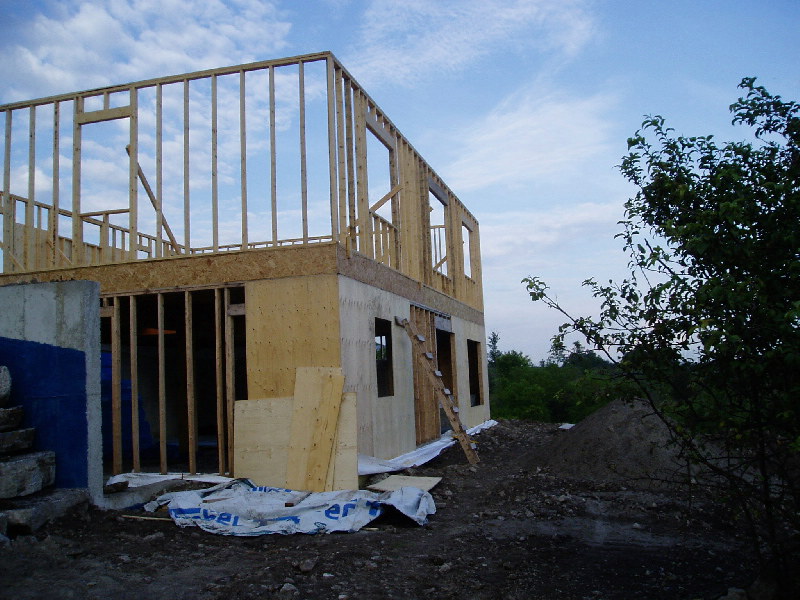
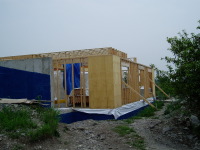
After a few days we had the framing for the second floor exterior walls finished.
We will do the the interior walls after the roof trusses are on so that we can
have a continuous vapour barrier on the ceiling. We also started to do the sheathing
on the first floor. |
 |
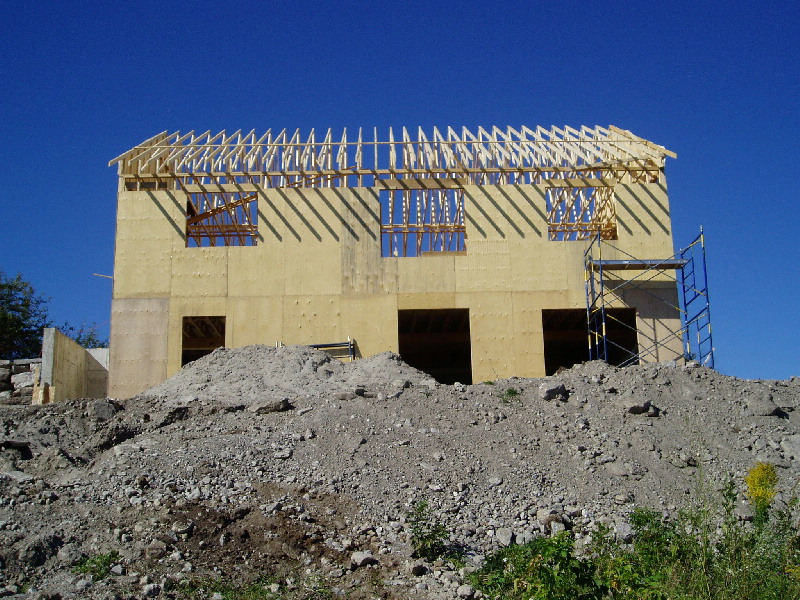
A short time later we had sheathed most of the outside and the roof trusses
arrived. For this part we cheated and hired a local carpenter and his crew to
install the roof trusses. I'm not afraid of falling, it's the sudden stop at
the end. |
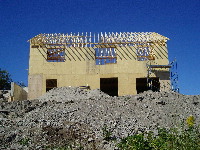 |
By the end of the day, they had the trusses installed. |
 |
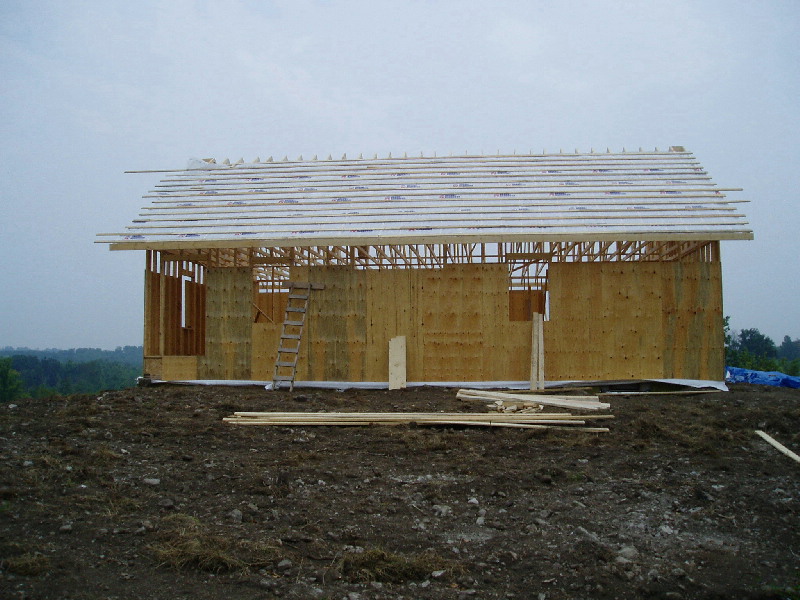
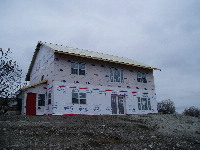
And a day and half later the air barrier was on and the roof was strapped,
ready for the installation of the steel roofing. |
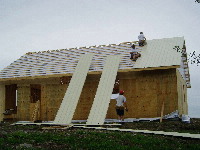 |
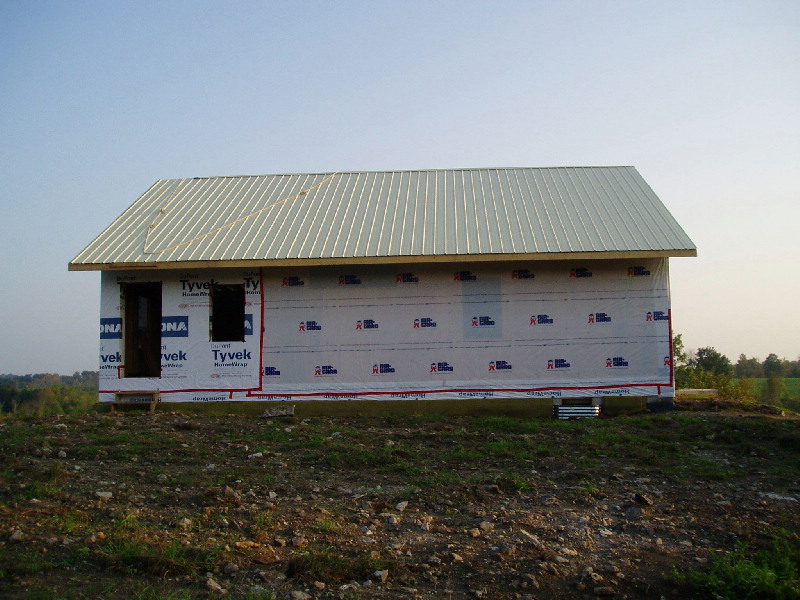
Due to some scheduling problems and weather, It took a while for the steel
to get started, but once started it went up quickly |
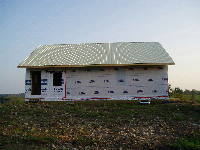 |
and was soon finished, well, mostly. There is a small strip at the end that
took about a week more to finish as I had to get more steel as we were short
about 8" and then the carpenter had to fit it his schedule |
 |
While waiting for the last of the steel to go in, we finished the double exterior
stud wall |
 |
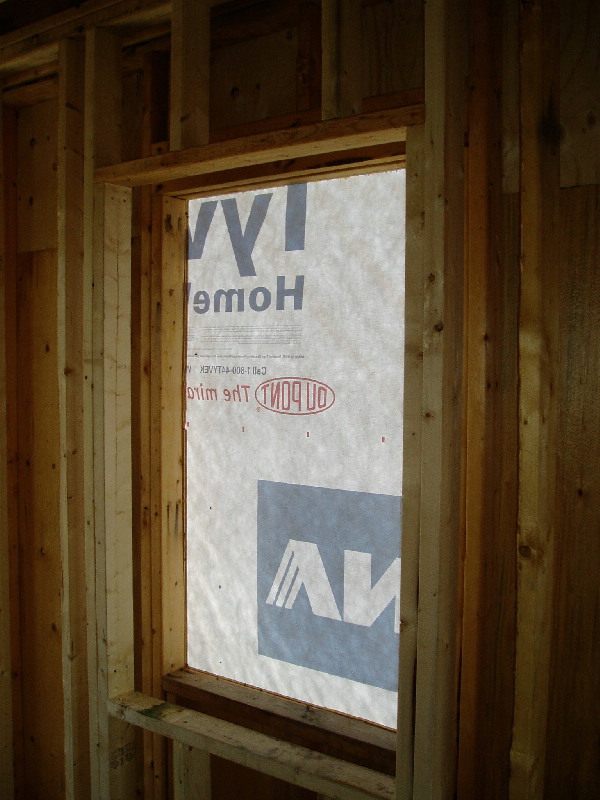
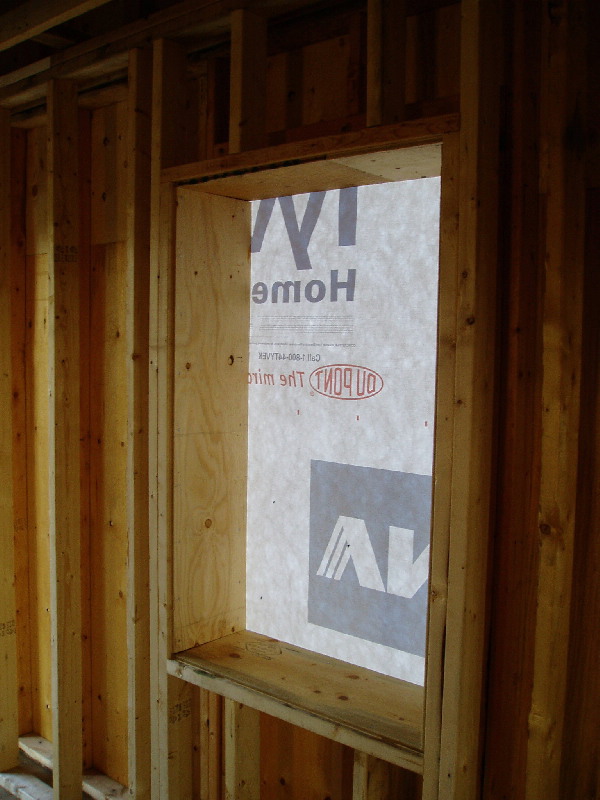
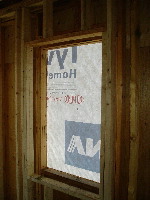
and put plywood in the rough window frames to give us a solid box into which
we could install the windows. |
 |
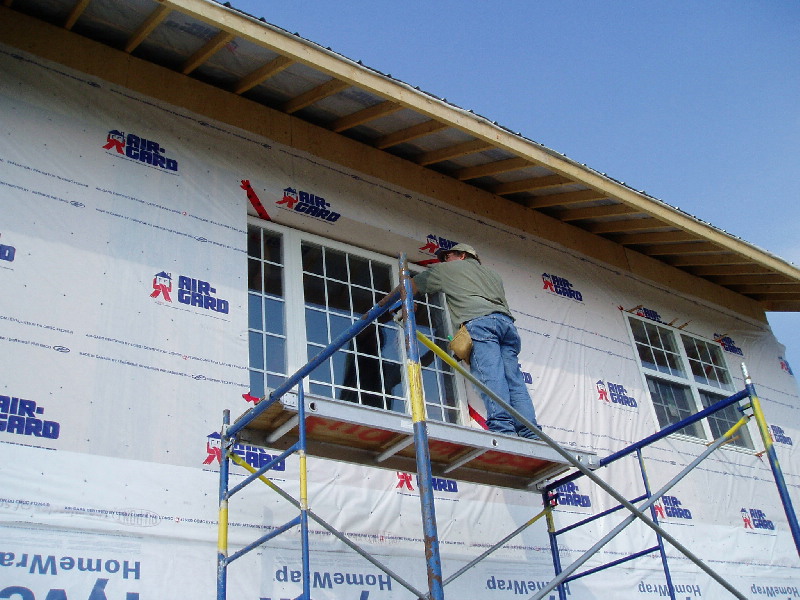
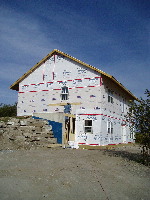
After the steel was on, we started with the windows. We had a bit of help from
the relatives to get the large windows in. |
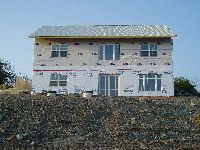 |
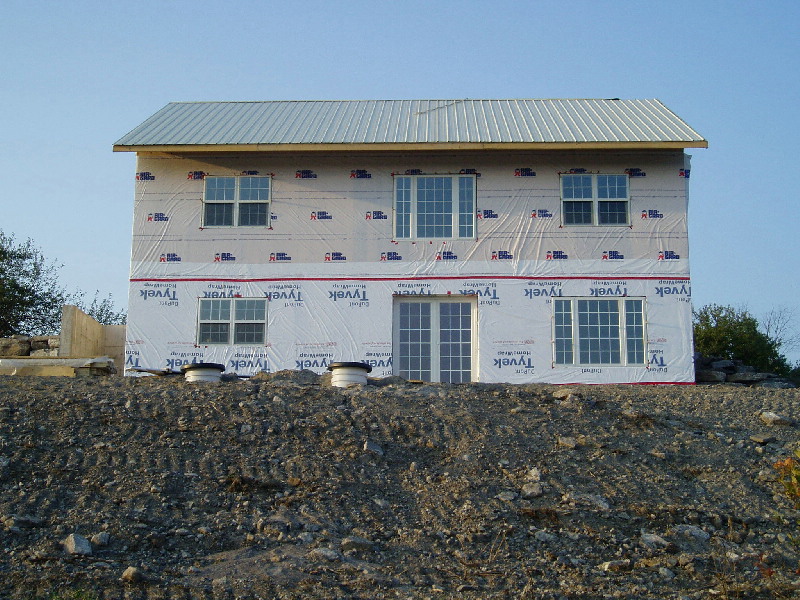
Soon thereafter, it really started to look like a house. |
 |
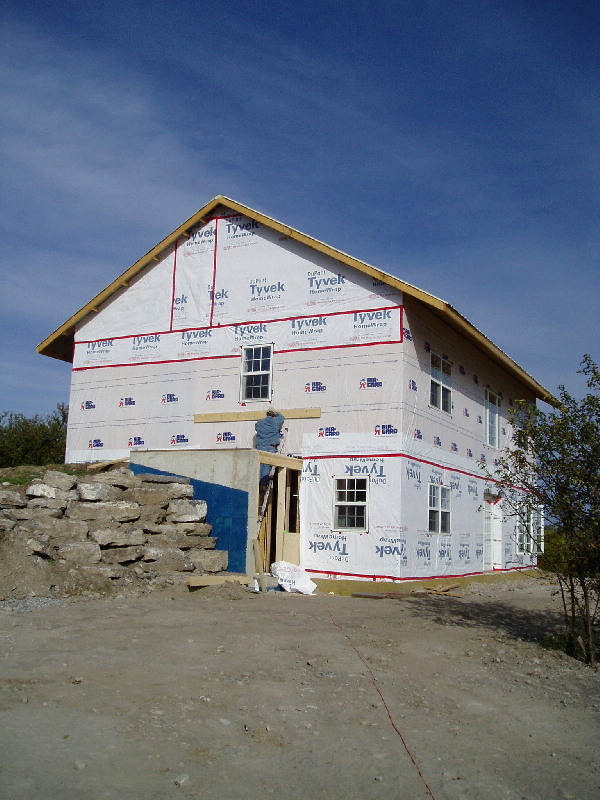
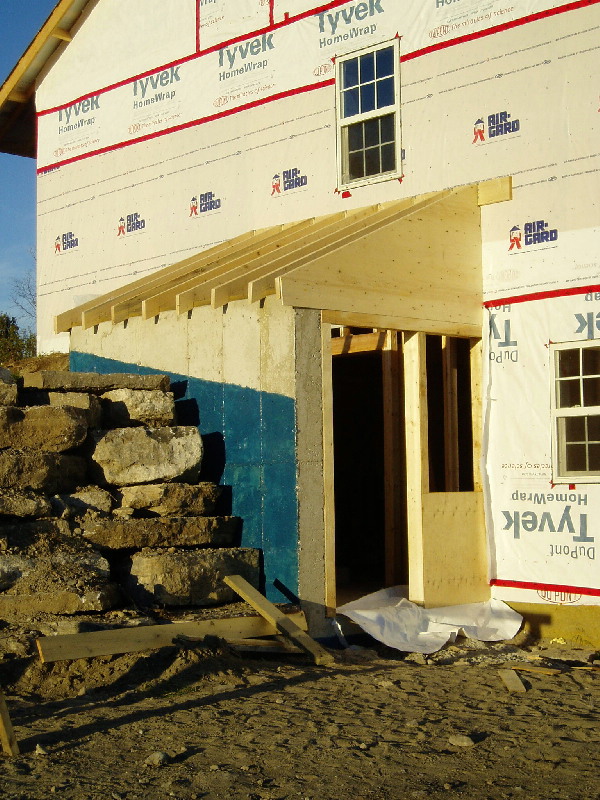
At this point all there was to fiinsh was the entrance porch. So we put up
a ledger board, |
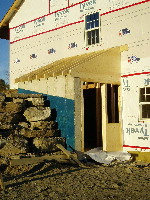 |
then the rafters, |
 |
and finally the steel and the door. This is probably the state that the house
will look until spring when we can put up the siding. |